Can refinishing damage hardwood floors? It can. But that does not mean refinishing is automatically dangerous or something to avoid.
Most serious refinishing damage starts in one of two places: sanding a floor that should not be sanded, or putting a finish system over a surface that is not ready to accept it. When the floor is a good candidate and the work is planned properly, refinishing can bring the surface back without harming the floor. When the floor is too thin, unstable, contaminated, or already close to its limits, sanding can make things worse.
The mistake is treating every hardwood floor like it has the same amount of room to work with. It does not. A thick solid hardwood floor with enough material left is not the same as an engineered floor with a thin wear layer. A floor that has never been sanded is not the same as one that has already been through several full refinishes. A clean, stable surface is not the same as a floor with years of wax, polish, silicone cleaner, pet staining, or moisture movement hiding in it.
That is the real line. Refinishing is not simply “safe” or “unsafe.” It depends.
At 1 DAY® Refinishing, we look at the question in a practical order: first, is the floor actually a sanding candidate? Then, what refinishing path makes sense? A full sand and refinish may be fine. In other cases, a lighter maintenance approach makes more sense. And if the floor is too thin, unstable, or badly damaged, repair or replacement may need to be part of the conversation before finish work is even worth considering.
The Most Common Refinishing Risks Homeowners Don’t Expect
Most homeowners picture refinishing as sanding off the old surface and adding a new finish. That is the simple version. The problem is that it skips the checks that prevent regrets.
Sanding removes wood. Finish has to bond. Stain has to absorb evenly enough to look right. If the floor is too thin, sanding can remove more material than the floor can safely lose. If wax, cleaner residue, or old coating is still there, the new finish may not grab. Some issues only show up after the surface is opened up. A floor may look fine before refinishing, then show faint sanding marks on hardwood floors, old sanding patterns, swirl marks, or chatter marks from certain angles.That does not always mean structural damage, but it can affect how clean the final result looks.
Edges are another surprise. The centre of the room can look smooth, while the perimeter shows halos, edger marks, or a “picture frame” look around the walls. If the edge work does not blend with the field sanding, the room can still look uneven.
Finish issues are different. Peeling, bubbles, dull patches, or uneven sheen often get blamed on the product, but the cause can start earlier: contamination, weak bonding, incompatible coating layers, or a surface that was not ready for finish.
The risks usually fall into three buckets:
- Physical sanding damage
- Finish failure after the surface is coated
- Expectation mismatch, where refinishing improves the floor but cannot erase deep stains, old repairs, movement, or natural colour variation
That last one matters more than people expect. Not every ugly result means the floor was “ruined.” And not every floor that looks salvageable is safe to sand.
Sanding Risks: Thickness Loss, Waves, Gouges, and Edge Problems
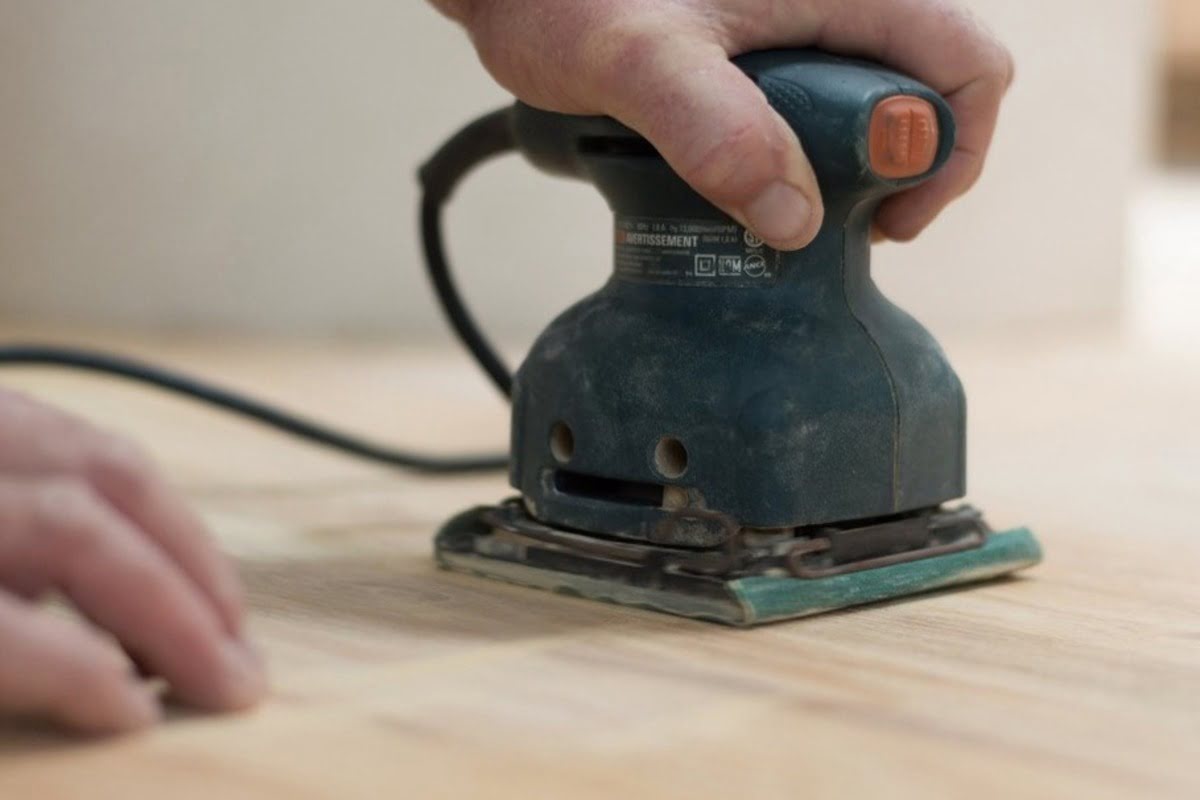
Sanding is the part most homeowners worry about first. Makes sense. It is the part of hardwood floor refinishing that actually removes material from the floor. Done properly, that removal is controlled. Done poorly, or done on a floor already near its limit, it can shorten the life of the floor or leave marks you can see every day.
The key is reading what the problem is telling you. A machine gouge is not the same thing as a floor being too thin. A wave in the surface is not the same as a stain that refuses to come out. Different risk, different cause.
Thickness loss and over-sanding limits
Every full sanding takes wood off the floor. That part is normal. The real question is how much usable material is left before the work starts.
With solid hardwood, there is usually more material to work with, but it is not unlimited. Previous sandings matter. Board thickness matters. The position of the tongue-and-groove matters. Industry guidance around sanding limits comes back to this basic idea: the floor needs enough remaining wood above critical construction points to be sanded safely. NWFA guidance on refinishable wear thickness gives a useful reference point here: in general, floors with wear thickness below 3/32″ should not be sanded.
Over-sanding becomes a real problem when the floor gives up too much of that remaining surface. In mild cases, it shortens the floor’s future refinishing life. In worse cases, it can expose fasteners, weaken edges, or bring the tongue-and-groove area too close to the surface.
That is why over-sanded wood is not just an appearance issue. Once too much wood is gone, a nicer finish cannot put it back.
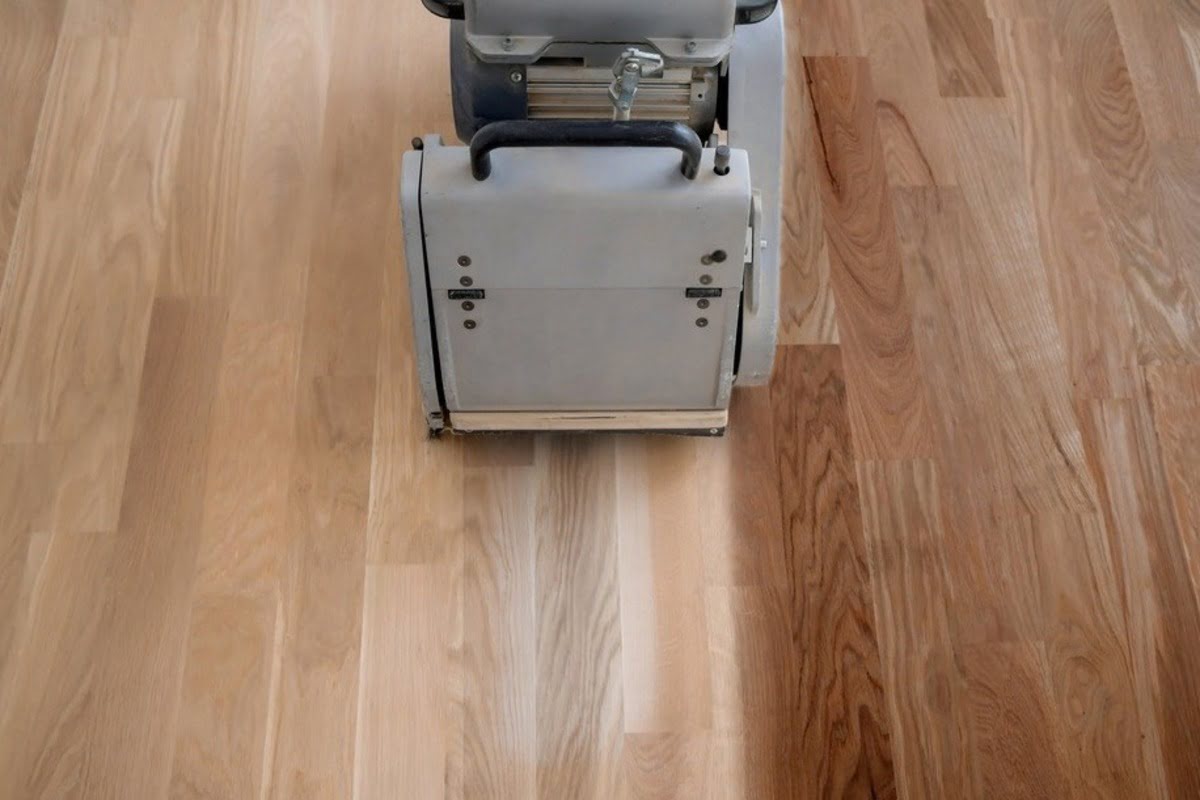 Waves, drum sander gouges, and edger marks
Thickness is only one part of sanding risk. The other part is surface quality.
A drum sander gouge usually means the machine was dropped, paused, tilted, or handled unevenly. Chatter marks can show up as repeated lines or ripples across the floor. Waves can appear when wood is removed unevenly across the room, especially if the floor was already uneven or the machine control was off.
Edges are their own problem. Large sanding machines do not reach tight against the walls, so edges and corners need different equipment. That is where edger marks, halos, and picture framing show up – and yes, edge marks show up more than people expect. The centre of the floor may look clean, while the border looks darker, rougher, shinier, or scratched in a different direction.
That does not always mean the entire floor is destroyed. Some sanding marks are appearance problems. But they still matter, because stain and finish can make them more visible instead of hiding them. Looks smooth, right? Then colour hits the grain, or the sun comes through the window, and the scratches show.
Finish Risks: Adhesion, Contamination, and Sheen Problems
Finish failure gets misunderstood because it often shows up after the obvious work is done. The floor may look good on day one, then start peeling, flaking, bubbling, dulling, or showing patchy sheen later. From the homeowner’s side, it feels like the finish failed. From the job side, the real cause may have started before the first coat ever touched the floor.
Adhesion failure is the big one. If the finish does not bond, it may lift, peel, chip at thresholds, or flake in certain areas. That usually points to a bonding problem, not normal wear.
Contamination is a common reason. Wax, polish, silicone sprays, oil soaps, old cleaners, residue, and unknown coatings can all interfere with bonding. The annoying part is that these things are not always obvious. A homeowner may have cleaned the floor normally for years, but those products can still leave something behind that causes problems for a new coating system.
Compatibility matters too. Finish manufacturers are usually specific about system matching, recoat windows, abrasion requirements, and what can go over what. That is not just fine print. Coatings bond through chemistry and surface preparation. If someone coats over an unknown finish history, the new layer may never become part of a stable system.
Bubbles and pinholes are another type of outcome. They may come from trapped air, surface contamination, coating behaviour, or application conditions. Uneven sheen and lap marks usually show as dull patches, glossy stripes, hazy areas, or patchy reflection from certain angles.
Blotchy stain sits in this same risk family, even though it is not always a true “failure.” Some wood species take stain unevenly. Old repairs, sanding variation, filler, and deep discoloration can also change how colour lands. So the finish may be bonded, but the floor still looks wrong.
How to Read Finish Problems Without Guessing
Not every finish problem means the floor itself is damaged. Some issues point to bonding, some to contamination, and some to how the surface was sanded, stained, or coated.
This table is a simple way to separate what you are seeing from what may have caused it. It is not a diagnosis by itself, but it gives the right starting point before blaming the finish product.
| Risk or Problem | Likely Cause | What To Check First |
|---|---|---|
| Peeling or flaking finish | Adhesion failure, contamination, incompatible coating | Old wax, polish, cleaner residue, coating history |
| Bubbles or pinholes | Trapped air, contamination, finish behaviour | Surface cleanliness, product compatibility, application conditions |
| Uneven sheen or lap marks | Uneven coating, drying differences, surface variation | Finish system, lighting, traffic pattern, coating build |
| Blotchy stain | Uneven absorption, species behaviour, sanding inconsistency | Wood species, old repairs, scratch pattern, test area |
| Picture framing at edges | Poor edge blending or old finish left near perimeter | Edger work, perimeter sanding, coating build near walls |
| Deep scratches showing after stain | Sanding scratches telegraphing through colour | Grit sequence, scratch direction, angled light |
Engineered vs Solid Hardwood: Why the Risk Profile Changes
The hard stop many homeowners do not expect is engineered flooring. A floor can look like hardwood, feel like hardwood, and still have very little sanding life left.
Solid hardwood is wood through the board. That usually gives more room for sanding, assuming the floor still has enough remaining thickness and has not already been refinished too many times. But “solid” does not automatically mean safe. If the boards are thin from past work, cupped, loose, or close to tongue exposure, sanding still carries risk.
Engineered hardwood is different. It has a real wood surface over a core, and that top layer sets the limit. This is where the whole decision can change. The NWFA Engineered Wood Flooring Refinishable Program uses minimum wear-layer requirements for refinishable engineered flooring, including 2.5 mm for factory-finished products. When enough real wood remains, some engineered floors can be sanded. With a thin veneer, sanding may not be safe at all. Once sanding goes through that surface layer, the damage is permanent and visible. That is veneer burn-through, and no stain or topcoat can hide it properly.
Prior sandings change the answer for both floor types. A solid floor that was safe 15 years ago may not be safe now. An engineered floor that handled one light refinish may not handle another. Without knowing the history, a pro has to judge what is left, not what the floor might have allowed when it was new.
How Pros Reduce Risk Before and During the Job (Without Guessing)
The safer jobs usually start before sanding begins. A good assessment is not just “yes, we can sand it.” It is a set of checks that decide whether sanding is the right move at all.
The first check is floor type and remaining material. Is it solid or engineered? How much usable surface or wear layer is available? Has the floor already been sanded? Are there thin spots, exposed fasteners, loose boards, or old repairs? Then there is floor behaviour. If boards are moving, cupped, crowned, or showing moisture-related changes, sanding may not solve the real problem. The safer move may be waiting, repairing, or finding the source before making the refinishing call.
Coating history comes next. Unknown coatings are a real risk because wax, polish, acrylic products, silicone cleaners, and old residue can all lead to adhesion problems. A new finish over an unknown surface can peel because the issue was never a lack of finish. It was a lack of bond. During the job, pros reduce risk by controlling material removal, machine movement, edge blending, dust, and finish compatibility. The point is simple: the work has to follow the floor’s limits instead of forcing the same process onto every room.
If stain is involved, test areas help. Some floors stain evenly. Others turn blotchy, highlight scratches, or react differently around old repairs and filler. A test area does not promise perfection, but it gives a more honest preview than guessing.
The best risk reduction is knowing when not to sand. Not exciting, maybe, but often that is the decision that protects the floor.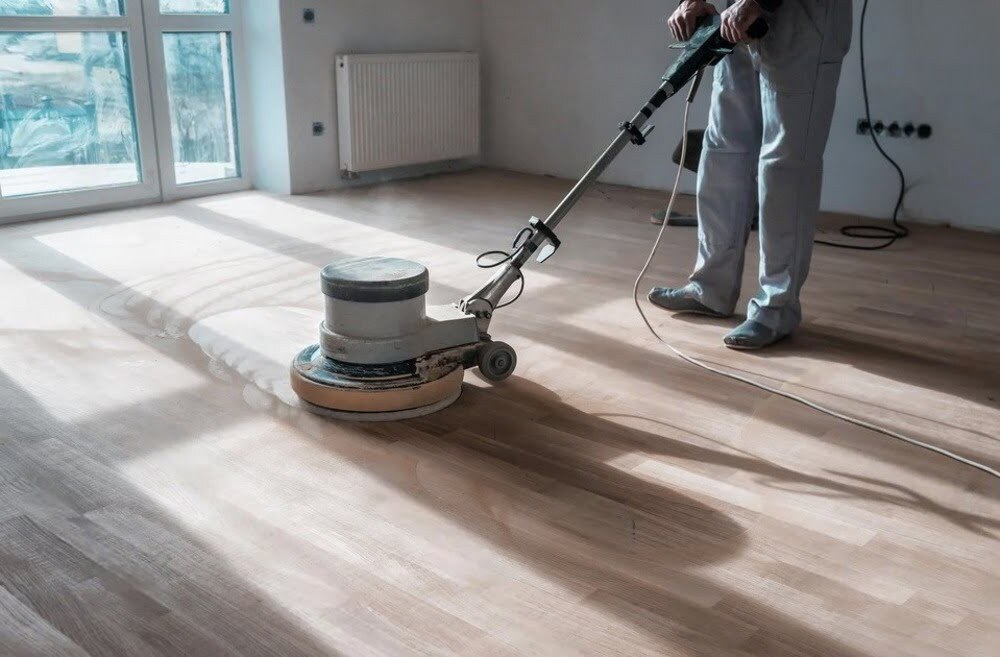
When You Need a Pro (And What to Expect)
Some floors need more than a quick look. Engineered floors near their wear-layer limit, older solid floors with unknown sanding history, floors with deep stains, and floors with movement or moisture concerns should be assessed carefully before work starts.
The same goes for unclear coating history. If the floor has been maintained with wax, polish, oil soap, silicone cleaners, or unknown “shine” products, adhesion risk goes up. Finish peeled? Not always the finish. Sometimes it is what was on the floor before.
A pro assessment should look at types of hardwood floors, usable thickness, wear layer, board stability, moisture context, previous coatings, repair areas, stain depth, and whether sanding is likely to improve the floor without creating a bigger issue. For engineered floors, the question is whether enough real wood remains. With solid hardwood, it is whether another sanding can be done without getting too close to structural limits. With finish concerns, the issue shifts again: can the surface actually accept the new system?
A pro assessment should not promise that every mark will disappear. Deep pet stains, old water marks, filler, prior repairs, and colour variation may still show after refinishing. The point is to decide whether refinishing is feasible, what risks remain, and whether another path is safer.
Quick Recap: Refinishing Risks and How to Avoid the Costly Ones
Refinishing can damage hardwood floors when the floor is not a safe candidate, when sanding removes too much material, or when the finish system cannot bond properly. A safer sequence is simple: confirm candidacy first, identify sanding and finish risks next, then choose the right path. When the floor has enough usable thickness, stable boards, and a clean surface, refinishing is often reasonable. But the risk changes with engineered floors that have a thin wear layer, floors that have already been heavily sanded, or surfaces affected by contamination, movement, moisture, or deep stains.
Surface wear may be a good reason to refinish or recoat. Thin wood, veneer limits, deep staining, or poor bonding conditions are different. In those cases, sanding harder is not the answer. The main reminder is this: not every floor is a safe sanding candidate. Good refinishing results start with knowing that before the machines come out.