Hardwood installation isn’t just dropping boards on the floor and hoping they behave. It’s prep work first – subfloor checks, leveling, moisture testing, acclimating the planks – and then choosing the right installation method: nail-down, glue-down, or a floating click-lock system. Each one has its own rhythm and cost range. Nail-down feels the most traditional, glue-down gives a quieter and firmer step, and floating installs are the most DIY-friendly. Most homeowners end up somewhere between $7–$12 per sq ft installed, depending on method and materials, but the real difference comes from the prep. That’s what decides whether your floor feels tight underfoot or starts clicking and shifting a month later.
Anyway… most folks want to know if this is something they can handle themselves. If you’re decent with a saw, patient enough to follow layout lines, and not afraid of kneeling for a few hours, DIY can work – especially with floating floors. Nail-down and glue-down? Those take a steadier hand and better tools, and that’s usually where our installers get called in. On our projects at 1 DAY® Refinishing, we follow the same flow every time: prep the subfloor, plan the layout, leave proper expansion gaps, and lock in rows clean and straight. It isn’t complicated, it’s just… precise.
So, here’s the full walk-through – the same process we use on real jobs, start to finish.
Tools and Materials Needed
Essential Tools
Here’s what our crews bring to almost every hardwood install:
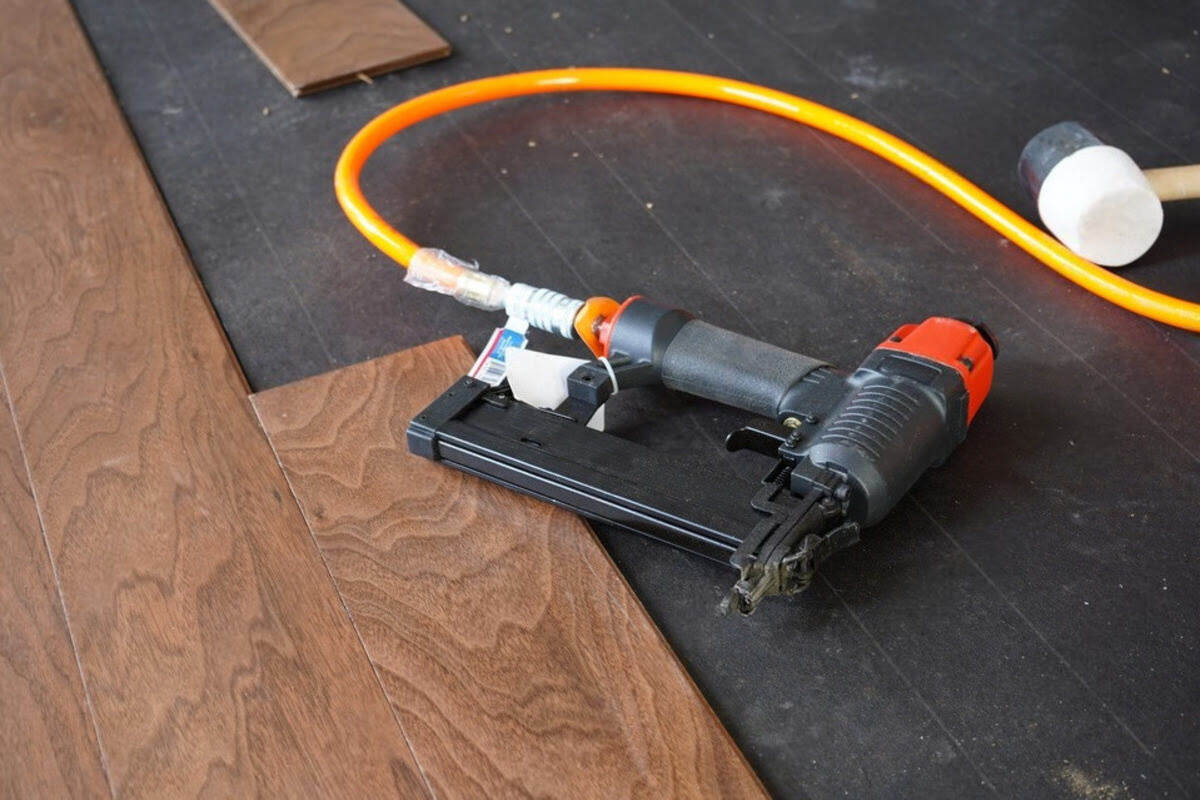
- Flooring nailer or stapler (for nail-down installs)
- Finish nailer (for first/last rows and trim)
- Miter saw, jigsaw, and oscillating multi-tool
- Tapping block and pull bar
- Chalk line, spacers, and measuring tape
- Level or straightedge
- Moisture meter for wood and subfloor checks
- 75–100 lb floor roller (for glue-down installs)
- Shop vacuum
You’ll hear all of this long before you see it – that sharp whine of a saw, the solid thunk from a flooring nailer when it’s seated right. A lot of DIY kits skip the pull bar or a proper tapping block – don’t do that to yourself. Folks end up hammering on the boards, blowing out tongues, and then the planks never lock cleanly again.
Materials & Underlayment
Depending on your installation method, you’ll need:
- Solid hardwood planks or engineered hardwood flooring
- Underlayment: foam/cork for floating, felt/rosin paper for nail-down
- Vapor retarder sheet (over plywood or concrete, where required)
- Wood flooring adhesive (for glue-down installs)
- Adhesive trowel (correct notch size for that adhesive)
- Transition strips (reducers, T-molds, stair nose)
- Baseboards, shoe moulding, or quarter-round
Underlayment looks thin and unimpressive, but you feel it right away under bare feet. Foam and cork give a softer, slightly cushioned step; felt feels firmer and a bit “quieter.” When you kneel on it, that soft crunch under your knees tells you it’s there doing its job.
Safety Gear
Not glamorous gear, but you really do need:
- Knee pads
- Work gloves
- Eye and ear protection
- Dust mask or respirator
Fresh-cut oak has this sharp, almost sweet smell when the saw warms up, and the dust hangs in the air if you’re not pulling it out with a vac. You don’t want that in your lungs all day. Our pros throw on respirators as a habit at this point – you forget they’re there after a few minutes.
Preparation & Planning
Remove Existing Flooring & Baseboards
Start by pulling up whatever’s there: carpet, vinyl, laminate, old hardwood. Scrape off adhesives, pop out tack strips, nails, and staples. Take off baseboards or quarter-round so you can reinstall them cleanly once the new floor is down. On our projects, our refinishers vacuum the subfloor at least twice; you’d be surprised how one leftover staple or a clump of adhesive can turn into a little bump you feel every time you walk across it.
Inspect and Prepare the Subfloor
Check for:
- Flatness within 3/16″ over 10 ft (per NWFA guidelines)
- Loose OSB or plywood panels (screw them down)
- Squeaks (tighten with flooring screws into joists)
- High spots (grind or sand them down)
- Low spots (patch or level them out)
Seems simple? Well… not exactly. This is where installs are made or broken. If the subfloor flexes when you walk or waves like a slow roll, the hardwood will follow that shape. You can feel that tiny bounce under your feet when something isn’t tight – and once the boards are down, fixing it is a lot harder.
Moisture Testing & Humidity Requirements
Hardwood likes steady conditions. Rooms should stay within a stable 30–50% relative humidity, and the flooring’s moisture content should be close to the subfloor before installation. Keeping both within the same range helps prevent cupping, gaps, and seasonal movement.
Use a moisture meter on:
- The subfloor (plywood, OSB, or concrete)
- Several boards pulled randomly from your flooring boxes
If you’re installing over concrete, you’re not just checking the top – you’re checking how much moisture is moving through the slab. If readings are high, you need a proper vapor retarder or a glue-down system that’s rated for that situation. Skipping this step is how you get cupping, hollow spots, and those “mystery” issues a few months later.
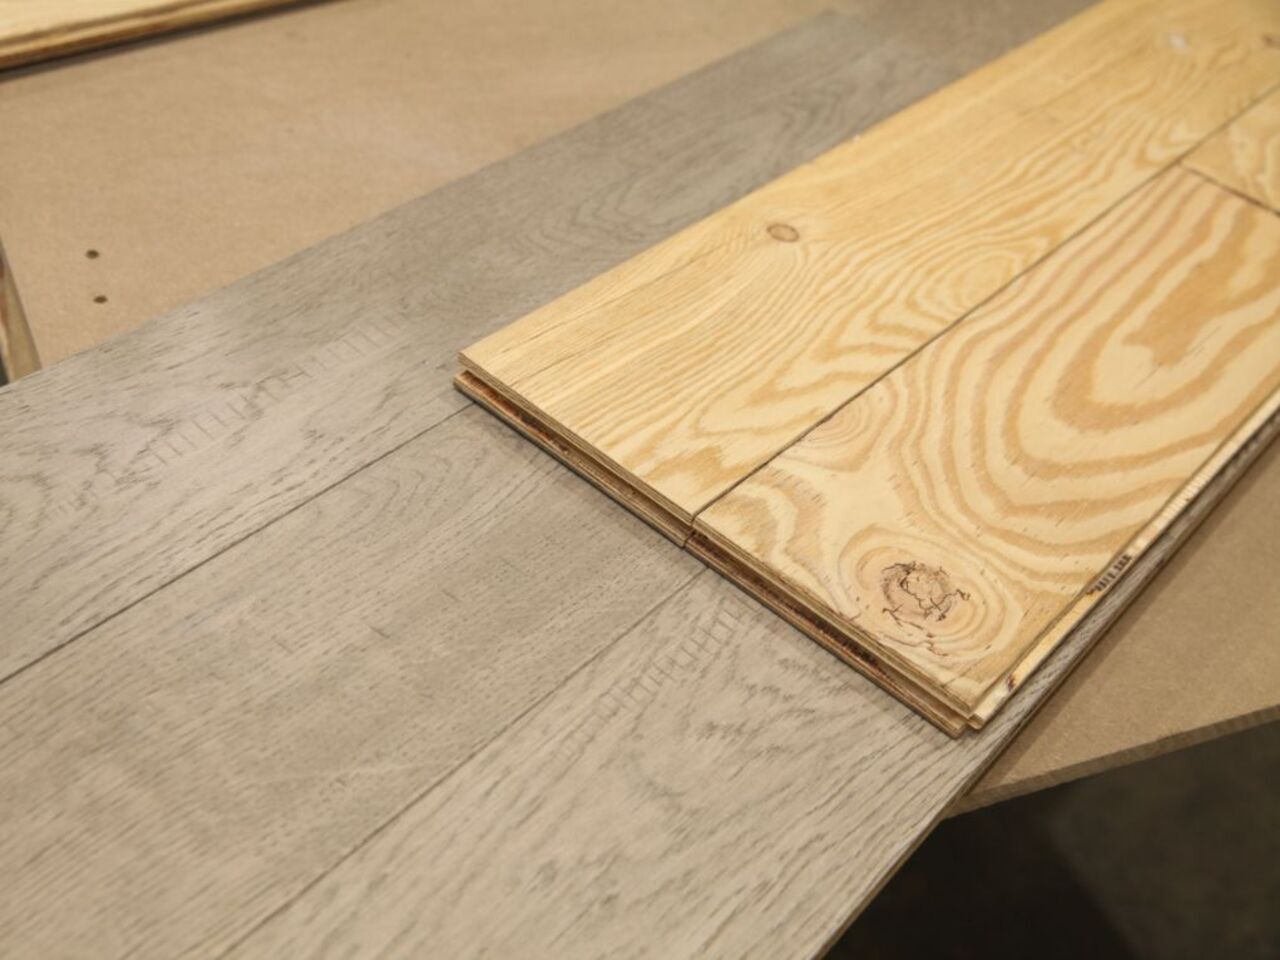
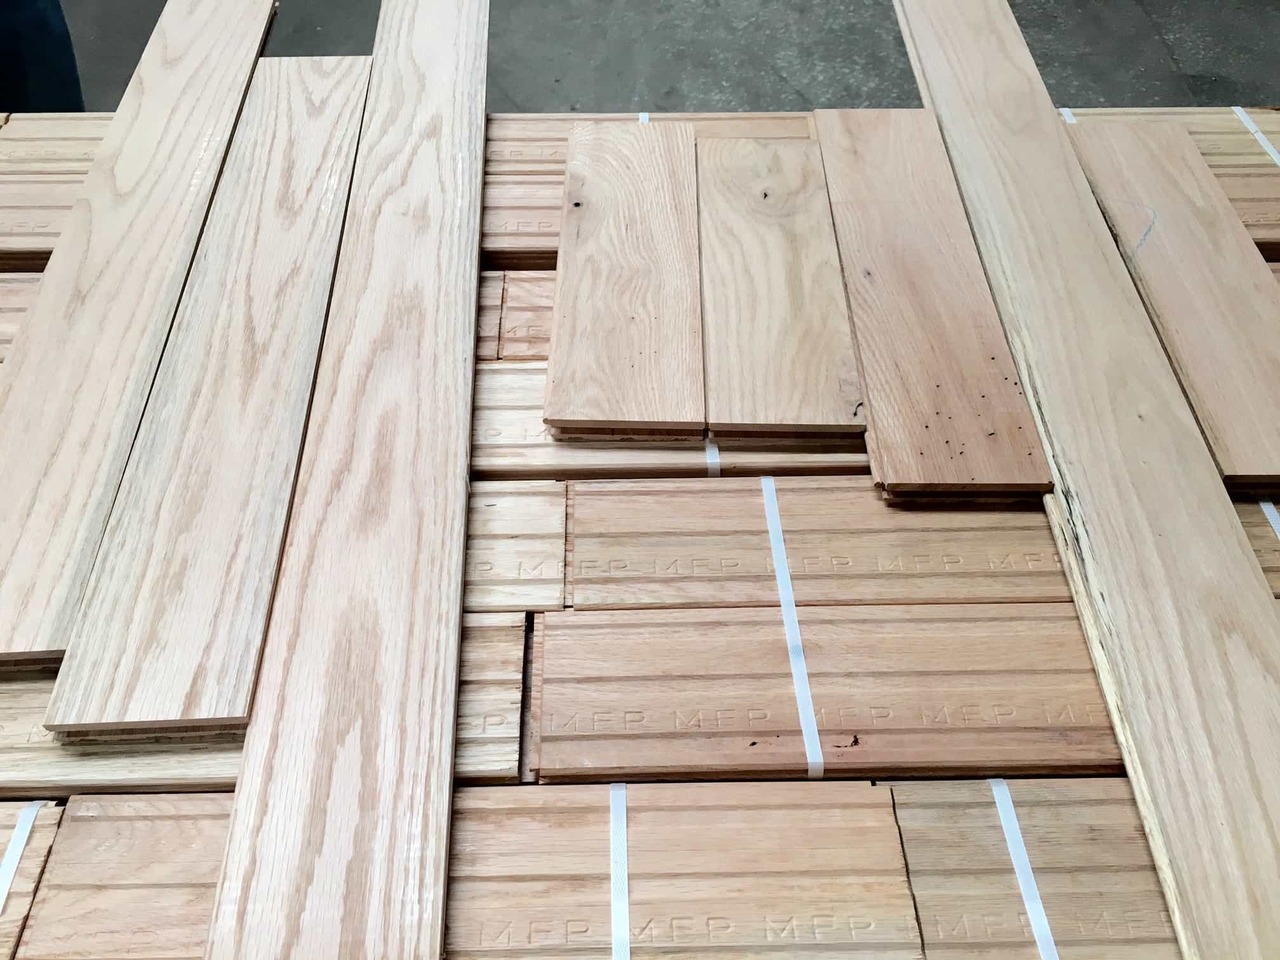
Acclimate Your Hardwood Flooring
Most solid hardwood needs 3–5 days to acclimate; some engineered products need less, but you still shouldn’t rush it. Open the boxes, cross-stack the planks, and let them breathe in the actual room. You want the boards and subfloor to “meet in the middle” moisture-wise. If the wood goes in way too dry, it may suck up humidity and swell. Too wet, and it shrinks later and leaves gaps. You won’t see it on day one, but you’ll notice once seasons change.
Plan Your Layout & Expansion Gaps
Choose your starting wall – usually the longest and straightest side of the room that your eye hits first. Snap a chalk line so you don’t have to trust the drywall. Think through:
- Expansion gaps all the way around the perimeter and at fixed objects
- Staggered end joints (no obvious stair-step pattern)
- Board direction (typically perpendicular to floor joists)
- Doorway transitions and where flooring changes type or height
- Last-row width (you don’t want to end up ripping a row down to pencil width)
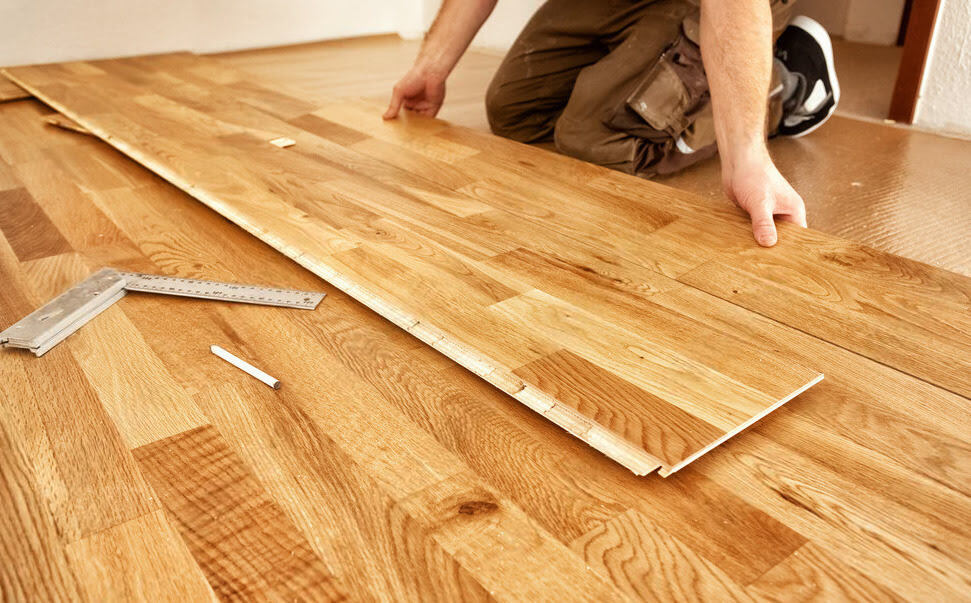
When our installers “rack out” boards – laying them loosely first – we’re not just playing with puzzle pieces. You’re checking color mix, lengths, and making sure you don’t get all your short boards in one corner. It also helps you spot tricky cuts ahead of time.
Choose Your Installation Method
– Nail-Down Hardwood Installation
Best for ¾” solid hardwood over plywood or OSB. You get that firm, classic feel with very little movement underfoot. You’ll hear a clean, solid tap when it’s done right – no hollow echo.
– Glue-Down Hardwood Installation
We use glue-down:
- Over concrete
- With many types of engineered planks
- When someone wants less floor deflection and a quieter sound
Glue-down installs feel a bit slower. The adhesive is tacky and deliberate – you don’t rush it. It has an open time, and once it skins over, it doesn’t really want to bond. That’s when you get those hollow spots we all hate hearing.
– Floating / Click-Lock Installation
Floating click-lock systems are where a lot of DIY folks feel comfortable. Boards lock to each other, not the subfloor. Great choice for basements and certain remodels, as long as the product is rated for those conditions and your subfloor is flat.
Comparison Table – Installation Methods
| Method | Skill Level | Subfloor Compatibility | Notes |
|---|---|---|---|
| Nail-Down | Medium–High | Plywood/OSB | Classic, solid feel |
| Glue-Down | High | Concrete or plywood | Strong bond, quiet |
| Floating | Easy | Most flat surfaces | Fast install, DIY-friendly |
Step-by-Step Installation Instructions (By Method)
1. Nail-Down Installation
Step 1 – Prepare the Area
Vacuum the subfloor so you’re not trapping debris. Lay felt or rosin paper as a slip sheet. Snap your starting line. Set spacers at the walls and around posts so your expansion gap stays consistent. You’ll hear that underlayment crunch a little under your knees as you move along the first row.
Step 2 – Install the First Row
Face-nail the first row through the top near the wall (those nails will hide behind trim later). Take your time here – the first row has to be dead straight. Every row after this wants to follow it. If the first row drifts, you’ll fight that curve all the way across the room.
Step 3 – Use a Flooring Nailer
Once you’re on row two or three, switch to blind nailing through the tongue with a flooring nailer or stapler. Seat the tool firmly – you want a clean, strong hit without crushing the tongue. Aim too high and you split wood; too low and the fastener shows.
Step 4 – Stagger & Lock Boards
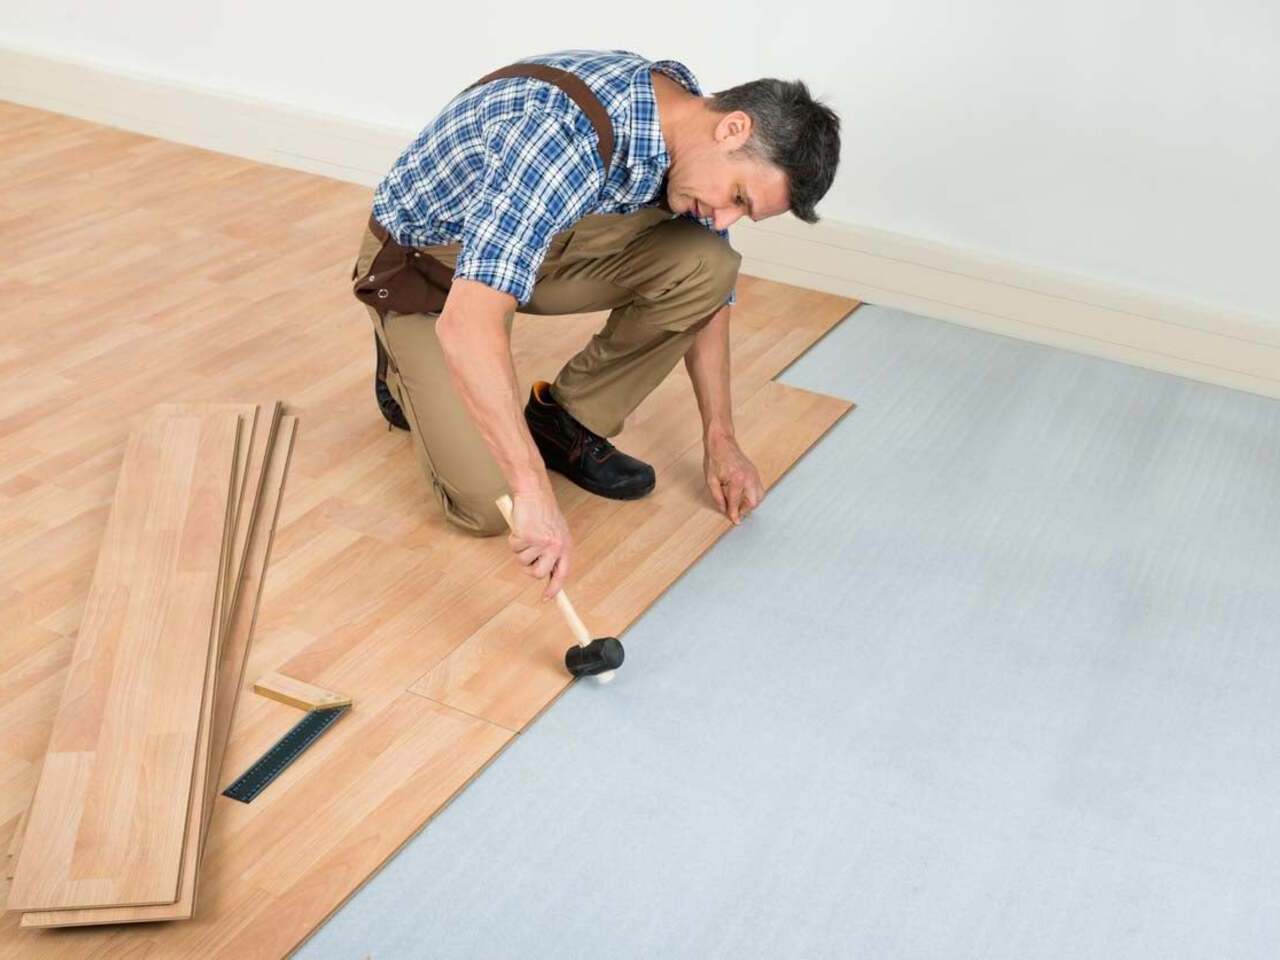
Mix board lengths as you go. Stagger end joints by 6–8″ so you don’t get weak spots or repetitive patterns. Tap boards together with a tapping block, not directly with a hammer. A pull bar helps pull that last inch tight near the wall. When everything lines up and those seams disappear, it’s weirdly satisfying.
Step 5 – Install Final Rows
For the last couple of rows, the flooring nailer usually won’t fit, so you go back to a finish nailer and hand nailing through the tongue or face if needed. Tight areas around vents and corners are where most DIYers slow down. Fresh-cut pieces may feel slightly warm off the saw, and you’re shaving millimeters to get a snug fit without forcing anything.
Step 6 – Add Transition Pieces
Attach reducers, T-molds, or stair nosing at doorways and where hardwood meets tile, vinyl, or carpet. These must be anchored well and sit level with both surfaces. If they’re even a little proud or loose, you’ll feel it every time you step over them.
2. Glue-Down Installation
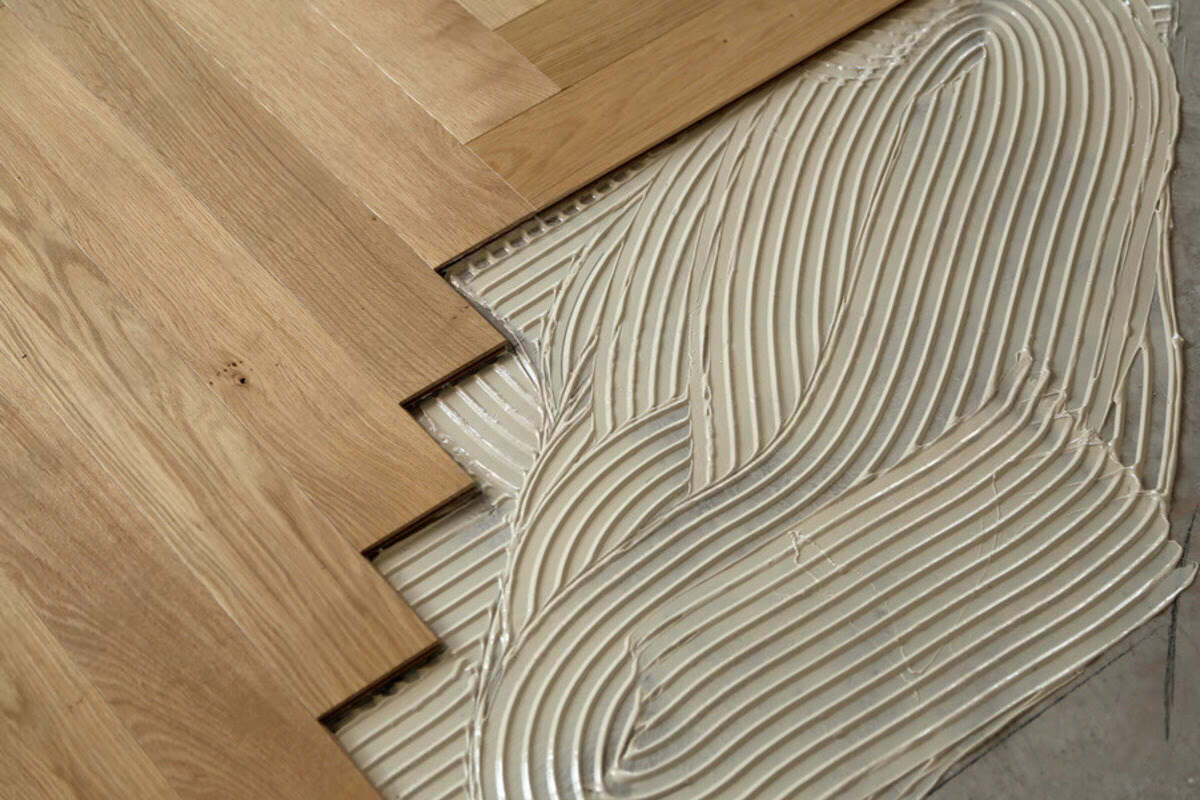
Step 1 – Prepare Subfloor & Spread Adhesive
For glue-down, the subfloor has to be flat, clean, and dry. No dust piles, no old glue ridges. Spread adhesive with the manufacturer-approved trowel notch. Only spread as much as you can cover in maybe 20–30 minutes – you’ll feel it getting tackier as time passes, and that’s your cue to move.
Step 2 – Lay and Lock Boards
Press each board firmly into the adhesive bed. You should feel a little resistance as it settles. Keep your chalk line visible and don’t bury it too early. Wipe up glue squeeze-out immediately – once it cures on the surface, removal gets annoying fast.
Step 3 – Roll the Floor for Bonding
Use a 75–100 lb roller to go over the floor, section by section. This pushes boards into the adhesive ridges and squeezes out voids. Roll it again after a bit if the instructions recommend it. When you tap the floor and it sounds dense and solid instead of hollow, you know it bonded well.
Step 4 – Install Final Rows & Transitions
Final rows in glue-down installs work a lot like nail-down, just without the fasteners. A pull bar is your best friend here. Once the boards have set enough that they don’t slide under your feet, install T-molds and reducers to lock the edges and transition to other floors.
3. Floating / Click-Lock Installation
Step 1 – Install Underlayment
Roll out foam or cork underlayment over the subfloor. Butt the seams together – don’t overlap them – and tape joints if the manufacturer calls for it. As you crawl, you’ll notice that little cushion under your knees, which is one perk of floating systems.
Step 2 – Fit and Click Planks Together
Angle the tongue into the groove, lift slightly, then drop and click. When it’s right, you get that tight, crisp “click” sound and the seam disappears. If you’re fighting it, something’s out of alignment. Don’t force it – back up, check for debris, try again.
Step 3 – Cut Boards Around Obstacles
Use a jigsaw or oscillating tool around door jambs, vents, and odd angles. Undercut door frames so the planks slide underneath instead of stopping short with a little notch. Doorways are where most folks mutter a few words they probably shouldn’t – it’s normal.
Step 4 – Finish Final Rows & Transitions
Tap the last rows together with a pull bar. Keep your expansion gap. Install transitions and check seams with your hand – you’re feeling for any proud edges or lippage before you call it done.
Working Around Obstacles
- Doorways and Trim
Doorways are one of the trickiest spots on any install. Undercutting jambs lets the boards slide under and look like they’ve always been there. For metal frames or awkward thresholds, take careful measurements and sneak up on the cut instead of trying to nail it in one pass. - Vents, Angles & Irregular Spaces
When angles feel confusing, grab a scrap piece or cardboard and make a template. It saves good boards from “almost right” cuts. Around vents, cut clean rectangles and, if you like, swap in flush-mount vent covers so the whole area looks seamless. - Tight Areas and Last Rows
The last row is where patience really shows. Measure both ends of the board because walls are almost never perfectly straight. Rip your boards slowly and support them well at the saw so they don’t splinter. When that last piece slides in snug with a tiny gap for expansion, it feels like closing the lid on the job.
Finishing Touches
- Install Baseboards and Shoe Moulding
Reinstall your trim to cover the expansion gap all the way around the room. If the wall bows a little, shoe moulding hides those tiny sins. Our crews use a finish nailer and then run a small bead of caulk along the top edge where trim meets wall for a clean line. - Fill Nail Holes & Touch-Ups
Touch up face nails on the first and last rows. Use wood filler that’s close to your floor color and wipe it gently with a damp cloth so it blends instead of sitting as a hard dot on the surface. If you see any scuffs from tools, now’s the moment to touch them up. - Final Cleanup
Vacuum the floor, including along edges and vents. Wipe down planks with a slightly damp microfiber or manufacturer-recommended cleaner. Don’t wet-mop yet – give everything time to settle, especially if there’s fresh adhesive curing underneath.
After Installation: Care & First 72 Hours
What to Avoid Immediately After Installation
For the first day or two:
- No heavy furniture dragging
- No rolling loads (office chairs, dollies)
- No wet mopping
- Avoid covering floors completely with plastic
The boards and any adhesive still need time to settle and get comfortable. Blocking airflow or loading the surface too early can cause issues you won’t see right away.
Initial Cleaning & Protection
Start with a dry microfiber sweep to grab the fine dust from cutting. Put felt pads under chair and table legs before they move back in. If you’re adding area rugs, wait a couple of days so finishes and adhesives can stabilize. Think “gentle use” instead of “move-in day chaos” for the first 72 hours.
Early Maintenance Recommendations
Keep humidity steady. According to the EPA’s indoor air quality guidance, hardwood performs best when your home stays within a stable seasonal humidity range instead of swinging wildly up and down. Use your HVAC system the way you normally would – don’t shut it off for long stretches, and try to keep the environment consistent day to day.
For long-term care tips, see our hardwood floor maintenance guide. It covers the cleaning products, habits, and little things that help floors still look good ten years out.
Troubleshooting Common Hardwood Installation Problems
Gaps Between Boards
Gaps usually come from:
- Poor acclimation
- Subfloor dips
- Seasonal humidity swings
Tiny hairline gaps can close when humidity goes up. Wider ones often stay and may call for board replacement or targeted repairs. When we see this on service calls, we usually trace it back to moisture or prep, not the boards themselves.
Squeaking Floors
Squeaks can come from loose subfloor panels, missing or undersized fasteners, or joist movement under the whole assembly. Sometimes it’s simply boards rubbing because the expansion gap was too tight around walls or posts. If you hear that sharp little squeal every step, something’s moving that shouldn’t.
Uneven Boards or Lippage
This shows up when:
- The subfloor wasn’t flat
- Tongues or grooves were damaged
- Adhesive was too thick, too thin, or inconsistent
Minor lippage might be addressed later during hardwood floor refinishing, depending on the product and thickness. More severe cases often need specific boards pulled and replaced.
Adhesive Issues (Glue-Down Installs)
If you hear hollow spots when you tap the floor:
- The adhesive may have skinned over before boards went down
- There may not have been enough adhesive ridges under that area
- The floor might not have been rolled properly
Spot repairs are sometimes possible with syringes or injection glues, but not every hollow spot can be fixed invisibly. That’s why our installers are picky about coverage and rolling from the start.
Conclusion
Hardwood installation isn’t rocket science, but it is real, hands-and-knees work. When prep is solid – flat subfloor, clean layout lines, boards acclimated right – the floor almost “wants” to go together. I’ve watched homeowners knock out a room over a weekend, nervous cutting that first board, then grinning every time they walk across the new floor.
If you’d rather skip the learning curve, the dust in your hair, and the stress of getting it wrong, calling a pro is usually the calmer route. Our crews at 1 DAY® Refinishing do this every week, and we treat each home like it’s our own. If you’re not sure where to start, we can swing by, look at the space, and give you a free on-site quote. No pressure – just honest feedback about what the job really needs.