
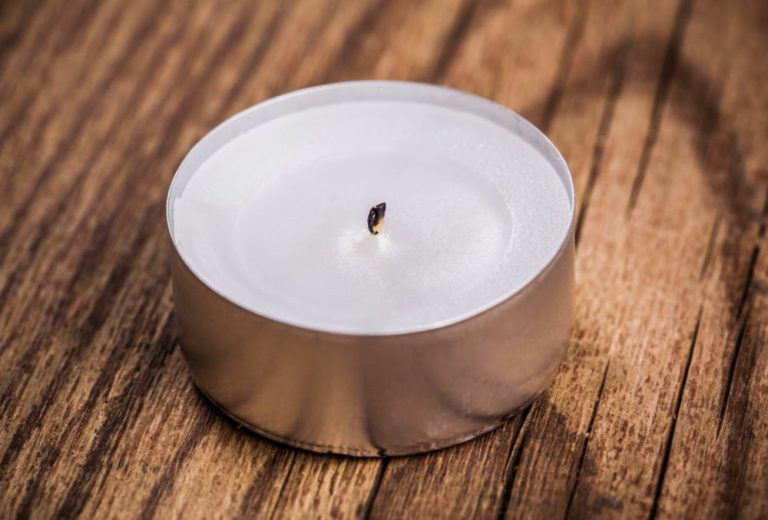
Dealing with candle wax on wood floors can be a frustrating experience. Whether it’s from a romantic dinner gone awry or a festive decoration mishap, finding wax stuck to your beautiful hardwood can cause panic. However, there’s no need to worry! With the right techniques and a bit of patience, you can learn how to get candle wax off wood floor without damaging the surface. This comprehensive guide will walk you through various methods to tackle this common household problem, ensuring your floors remain pristine and wax-free.
Preparing for Wax Removal: Tools and Materials You’ll Need
Before diving into the wax removal process, it’s essential to gather the necessary tools and materials. Having everything at hand will make the task more efficient and less stressful. Here’s a list of items you’ll want to have ready:
- Ice cubes or a bag of frozen vegetables
- Plastic scraper or old credit card
- Iron
- Paper towels or brown paper bags
- Vinegar
- Baking soda
- Soft cloths
- Wood floor cleaner
- Wood polish (optional)
Additionally, you may want to have a vacuum cleaner nearby to clean up any debris during the process. It’s also wise to wear gloves to protect your hands, especially when dealing with heat or cleaning solutions. Remember, the key to how to get candle wax off wood floor successfully is to work carefully and patiently. Rushing the process could lead to scratches or damage to your wood floor’s finish, so take your time and proceed with caution.
The Ice Method: Freezing and Scraping Candle Wax
One of the simplest and safest methods to remove candle wax from a wood floor is the ice method. This technique works by freezing the wax, making it brittle and easy to scrape off without damaging the wood underneath.
To begin, place a bag of ice cubes or frozen vegetables directly on top of the wax. Leave it there for several minutes, allowing the cold to penetrate and harden the wax. You’ll know it’s ready when the wax becomes firm and opaque. Once the wax is frozen, use a plastic scraper or an old credit card to gently lift the wax from the wood surface. Work slowly and carefully, applying light pressure to avoid scratching the floor. The frozen wax should come off in chunks or flakes.
After removing the bulk of the wax, you may notice a thin residue remaining. Don’t worry – we’ll address this in later steps. For now, vacuum up any loose wax pieces to prevent them from melting back onto the floor.
Heat and Absorption Technique: Using an Iron and Paper Towels
If the ice method doesn’t remove all the wax, or if you’re dealing with a larger spill, the heat and absorption technique can be highly effective. This method uses heat to melt the wax and paper to absorb it.
Start by laying a paper towel or a brown paper bag over the remaining wax. Set your iron to a low heat setting – you want it warm enough to melt the wax but not so hot that it damages the wood floor. Gently press the warm iron onto the paper for a few seconds at a time. You should see the wax beginning to melt and be absorbed by the paper. Move the iron slowly over the area, replacing the paper as it becomes saturated with wax. Continue this process until no more wax is being absorbed by the paper. Be patient, as this method may take several attempts to remove all the wax.
Remember to keep the iron moving to prevent overheating any one spot on your floor. After you’ve removed as much wax as possible, allow the area to cool completely before proceeding to the next step.
Natural Solutions: Vinegar and Baking Soda for Stubborn Wax
For particularly stubborn wax residue, natural cleaning solutions can be your best friend. Vinegar and baking soda are not only effective but also safe for most wood floors when used correctly. Create a cleaning paste by mixing equal parts white vinegar and baking soda. The resulting mixture should have a consistency similar to toothpaste. Apply this paste to any remaining wax residue using a soft cloth.
Gently rub the paste into the wax in a circular motion. The mild abrasiveness of the baking soda combined with the cleaning power of vinegar will help break down the wax without harming your floor’s finish. After working the paste into the wax for a few minutes, wipe the area clean with a damp cloth. You may need to repeat this process a few times for complete removal. Once satisfied, dry the area thoroughly with a clean towel to prevent water damage to the wood. This is another great method for how to get candle wax off wood floor naturally.
Commercial Products: Specialized Wax Removers for Wood Floors
If natural methods aren’t yielding the results you desire, it may be time to consider commercial wax removers designed specifically for wood floors. These products are formulated to dissolve wax without damaging the wood or its finish.
When selecting a commercial wax remover, look for products that are:
- Safe for use on finished wood
- Non-abrasive
- Environmentally friendly
- Easy to apply and remove
Always read the manufacturer’s instructions carefully before use. Test the product on an inconspicuous area of your floor to ensure it doesn’t cause discoloration or damage. Apply the wax remover as directed, usually by spraying or dabbing it onto the affected area. Allow it to sit for the recommended time to break down the wax. Then, following the product instructions, wipe or scrape away the loosened wax. After using a commercial remover, it’s crucial to clean the area thoroughly with a wood-safe cleaner to remove any residual chemicals.
Gentle Scraping Techniques to Protect Your Wood Floor
Throughout the wax removal process, you may find yourself needing to scrape away stubborn bits. It’s crucial to use gentle scraping techniques to avoid damaging your wood floor’s delicate finish.
Here are some tips for safe scraping:
- Always use plastic or rubber scrapers, never metal
- Hold the scraper at a 45-degree angle to the floor
- Apply gentle, even pressure as you scrape
- Work in the direction of the wood grain when possible
- Take frequent breaks to assess your progress and prevent over-scraping
If you encounter particularly resistant wax, resist the urge to apply more force. Instead, return to one of the softening methods (heat or commercial remover) before attempting to scrape again. Remember, patience is key. It’s better to take your time and preserve your floor’s finish than to rush and cause permanent damage.
Cleaning and Polishing After Wax Removal
Once you’ve successfully removed all traces of candle wax, it’s important to clean and polish your wood floor to restore its natural beauty and protect it from future damage.
Start by thoroughly cleaning the affected area with a wood-safe cleaner. This will remove any residue from the wax removal process and prepare the surface for polishing. Use a soft, damp cloth to apply the cleaner, being careful not to oversaturate the wood.
After cleaning, allow the floor to dry completely. This may take several hours, so be patient. Once dry, assess the condition of your floor. If the wax removal process has left the area looking dull compared to the surrounding wood, you may want to apply a wood polish or refresher.
Choose a polish that’s compatible with your floor’s finish. Apply a small amount to a soft cloth and work it into the wood using circular motions. Be sure to blend the polished area with the surrounding floor to maintain a uniform appearance.
Preventing Future Candle Wax Spills on Wood Floors
While knowing how to remove candle wax is valuable, preventing spills in the first place is even better. Here are some proactive measures you can take to protect your wood floors from future wax accidents:
- Use candleholders with wide, stable bases to prevent tipping
- Place candles on heat-resistant trays or plates to catch any drips
- Trim candle wicks to ¼ inch before lighting to minimize dripping
- Consider using flameless LED candles for a safer alternative
- Keep candles away from drafts, which can cause uneven burning and dripping
- Never leave burning candles unattended
When to Call a Professional: Dealing with Extensive Wax Damage
While most candle wax spills can be handled with DIY methods, there are situations where professional help may be necessary. If you’re dealing with extensive wax damage, or if your attempts at removal have left your floor looking worse for wear, it’s time to consider calling in an expert.
Professional floor refinishers have specialized tools and products that can tackle even the most stubborn wax without damaging your floor. They can also address any scratches or discoloration that may have occurred during your removal attempts.
Signs that you might need professional help include:
- Wax that has deeply penetrated the wood grain
- Visible scratches or gouges from attempted removal
- Discoloration or changes in the floor’s finish
- Large areas affected by wax spills
Remember, wood floors are a significant investment in your home. If you’re unsure about your ability to remove the wax safely, it’s better to consult a professional than to risk permanent damage to your floors.
Summary
Dealing with candle wax on wood floors can be challenging, but with the right approach, it’s a problem you can solve. From the simple ice method to more advanced techniques using heat and commercial products, you now have a toolkit of strategies to tackle wax spills of any size. If you’re wondering how to get candle wax off wood floor, these methods will help you restore your floor’s beauty. Remember to always start with the gentlest method and work your way up to more intensive techniques only if necessary. Patience and care are your best allies in preserving the beauty of your wood floors throughout the wax removal process.