
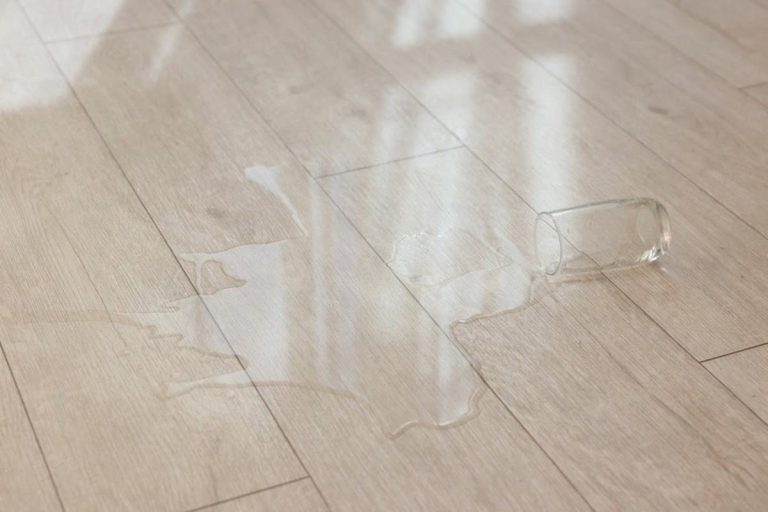
Most people want the quick call: “Is this just a stain, or did I actually damage the floor?” On water-damage jobs, the clean boundary is this: cosmetic moisture marks change the look, while true water damage changes the floor’s shape, stability, or attachment.
Cosmetic issues usually stay on or near the surface. You might see a watermark, light discoloration, or a dull patch where the finish turned hazy. But the boards still feel flat underfoot. Seams don’t feel like they’ve shifted. There’s no new “bounce,” and you’re not getting that musty smell that hangs around. In that lane, the floor can dry out and settle, and you’re deciding how much the appearance matters.
Real water damage shows up when moisture gets into the wood or underneath it. The call changes fast when you have one or more of these: the area stayed wet for a while, the affected section keeps growing, board edges feel raised, the floor feels different when you walk it, or odor doesn’t fade. And if water got into the subfloor or underlayment, you can dry the surface and still have a wet system underneath. That’s where people get fooled.
From what we see at 1 DAY® Refinishing, the honest answer is: sometimes it dries out fine, sometimes it doesn’t. What decides it is usually a mix of how long it stayed wet, how deep it got, whether the boards moved, whether there’s lingering odor, and whether moisture came from below or is trapped under the floor. Same stain on the surface can mean two very different situations depending on those factors.
Causes of Water Damage (And Where It Usually Starts)
Water damage isn’t random. It starts in predictable places and spreads in predictable ways – often along seams, under baseboards, and into low spots. If you map the cause correctly, you stop guessing, and you stop chasing a stain that’s far from the real source.
Surface spills that sit too long
Most surface events are straightforward: a spill, a pet accident, a wet entry area, or repeated light wetting in one spot. The deciding factor is usually time, not drama. If water sits, it finds seams, softens finish at the edges, and works its way down. That’s why discoloration often tracks along board joints even when the spill started in the middle.
Repeated “small” wetting is another one that sneaks up. It doesn’t have to look like a flood to create a problem. The finish loses resistance over time, seams start taking on moisture more easily, and the floor can begin to react in subtle ways before it ever looks “bad.”
Leaks from above (appliances, plumbing, windows)
Leaks from above create the most confusion because water rarely shows up where it started. It can travel under cabinets, along framing, or across the subfloor before it surfaces. That’s why you’ll sometimes see staining in the open floor while the actual source is tucked a few feet away.
This is also why “it dried” isn’t always the end of the story. If the same area keeps changing after cleanup, assume the source is still active or moisture stayed in the system underneath. On a lot of calls, the floor isn’t the root problem – it’s the symptom you can see.
Moisture from below (basements, crawlspaces, concrete)
Moisture from below is a different animal because it often isn’t a single event. It’s vapor and pressure moving up into the floor system. Crawlspaces with high humidity, basements that hold damp air, and concrete slabs that keep feeding moisture upward can leave the underside of the wood wetter than the top. That imbalance is what drives broader movement patterns.
NWFA guidance on wood movement lines up with what we see: wood doesn’t need a dramatic flood to move – it needs a moisture imbalance that lasts. Wood flooring reacts to environmental moisture, expanding as it gains moisture and shrinking as it dries.
Early Signs Homeowners Miss
Most permanent-looking damage didn’t start that way. It started with small signals that were easy to write off. The goal here is simple: catch the patterns early enough that you’re not making decisions after the floor has already changed shape.
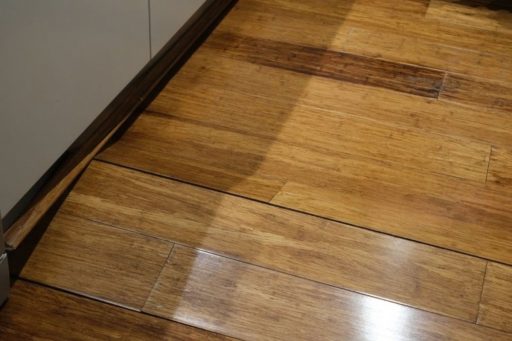
Cupping, crowning, and raised edges
Cupping is the classic early sign: the edges of the boards sit higher than the center. A lot of homeowners notice it first in bare feet. It usually points to moisture imbalance – often from below, or from a wet subfloor drying slowly. Raised edges can also show up when moisture keeps getting into seams over time.
Crowning is different: the center of the board sits higher than the edges. You’ll sometimes see it after the floor has been pushed through a wet-to-dry swing and didn’t return evenly. The important part is the direction of the movement and whether it’s still changing.
Buckling is the bigger red flag: boards lifting enough to create a ridge, a soft spot, or a section that’s no longer lying down flat. When you see buckling, treat it as escalation. It often means expansion pressure, attachment trouble, or moisture that got into the subfloor and didn’t resolve.
Black staining, odor, and mold risk
Black staining gets attention fast – and it should – but it doesn’t always mean the same thing. Sometimes it’s a wood reaction (tannin-rich species can darken when wet). Sometimes it’s a moisture problem that keeps returning. The stain alone doesn’t tell you which one you have.
Odor is the clue many homeowners ignore – and yes, it’s a bigger clue than people think. A musty smell that sticks around suggests moisture is still present in the system – under the boards, in underlayment, or in the subfloor. EPA indoor air quality guidance matches the practical view: persistent damp materials and musty odor raise mold risk, especially when moisture is trapped and airflow is poor.
And here’s the nuance: a floor can stabilize and still keep discoloration. I’ve seen cupping calm down while staining stays put. That’s a different situation than an active moisture issue that won’t quit.
What to Do First (Before You Try Any Fix)
Before you think about sanding, recoating, patching, or replacing anything, handle the part that decides whether the floor can be saved: stop the water and stabilize the system. If you flip that order, you can end up fixing the surface while the problem underneath stays alive.
Start with the source. Shut off the supply if it’s plumbing. Pull the appliance if you can do it safely. Check obvious perimeter points if weather intrusion is involved. If the source isn’t stopped, the floor may look better for a week and then start changing again.
Next is safe cleanup. Remove standing water without creating new problems. Electricity and wet floors don’t mix, and slipping hazards are real – especially near thresholds and stairs. If the water is contaminated (sewage, groundwater, unknown source), that shifts the decision quickly because health risk and material handling change.
Then think in terms of controlled drying as a concept, not a quick fix. A lot of secondary damage comes from trying to force results – overheating the space, sealing everything up, or “hiding” the area while moisture is still present. If you want to understand the drying logic without turning this into a DIY project, you can read more about moisture in wood floors.
What not to do matters just as much: don’t cover the area with a rug, don’t tape plastic over it, and don’t coat over it to lock it in. Trapping moisture is one of the fastest ways to turn a fixable event into a bigger repair. Also avoid re-wetting the area through cleaning while things are still stabilizing.
When Drying Is Enough (And When It Won’t Be)
Drying is “enough” when the floor stops changing and returns to stable behavior. That doesn’t always mean it looks perfect. It means movement calms down, the feel underfoot normalizes, and the moisture that drove the change is no longer in play.
Signs a floor is stabilizing include: cupping that gradually relaxes, seams that stop changing week to week, and odor that fades instead of lingering. Finish haze may remain, and some staining may remain, but the key is that the floor isn’t actively deforming.
Signs moisture is still in the system look different: the affected zone spreads, the floor keeps feeling higher at edges or softer underfoot, odor persists, or the movement patterns don’t settle. If moisture came from below (crawlspace humidity, basement dampness, slab vapor), the surface can feel “dry” while the underside keeps feeding moisture back into the wood. That’s when subfloor moisture changes the answer.
Installation method shifts the decision too. Floating floors can trap moisture underneath longer than homeowners expect. Glue-down systems add their own twist: adhesive failure can show up after drying, when the bond weakens and you start hearing hollow sounds or feeling slight shifting.
And even when drying goes well, discoloration can remain. That’s not “the floor is still wet” by itself. It’s often a reaction in the wood or damage in the finish film. Once stability is restored, you can decide whether appearance-only work makes sense. If cleaning is part of the plan after everything has stabilized, a guide on how to clean hardwood floors is a natural next step.
Repair Options: Spot Fix, Board Replacement, or Refinish
Once the water is stopped and the floor has stabilized as much as it’s going to, repairs come down to one question: are you fixing the look, the structure, or both? It depends on how localized the damage is and whether the boards recovered their shape. Wood is hygroscopic, meaning it naturally absorbs and releases moisture from the surrounding air, which is why changes in humidity can lead to movement, gaps, or distortion in flooring.
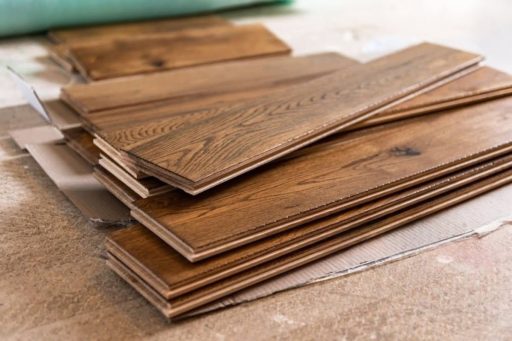
Spot repairs work when damage is truly isolated – a small area of finish damage or shallow staining on boards that are flat and stable. The catch is blending: patches can flash because wood ages, finish ambers, and factory-finished edges don’t always disappear. Board replacement makes sense when boards are permanently distorted, separated, or unstable. If buckling doesn’t relax or edges stay raised, you’re usually past “cosmetic.” Expect some mismatch – new boards can look newer and grain tone can vary.
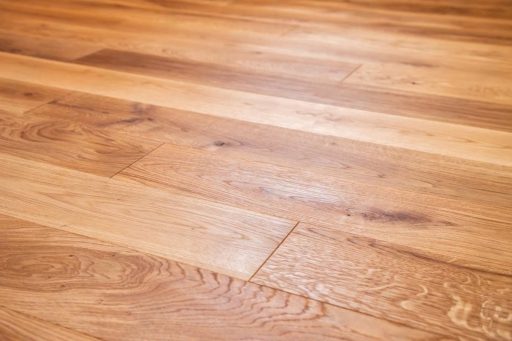
Refinishing sits in the middle. If the floor is stable but has widespread finish damage or uneven appearance, a recoat or full refinish may help. Recoat works when the finish is still well-adhered; full refinish resets the surface once the system is stable.
Engineered floors add a constraint: wear layer limits. If the veneer is thin, full sanding may not be possible and replacement becomes more likely. If the subfloor is wet or compromised, surface work won’t hold. Repairing rotted wood caused by moisture becomes the relevant step.
Repair options decision table
| Repair Option | Best Fit Scenario | Key Limitation / Risk |
|---|---|---|
| Spot repair | Small area, boards flat and stable; finish-level damage or light staining | Blending is unpredictable; patches can flash |
| Board replacement | Localized boards are permanently cupped/buckled, unstable, or deeply stained | Matching is hard; moisture source must be solved first |
| Recoat | Floor is stable; finish can bond; mostly haze/scuffs after drying | Can fail if moisture/residue remains; won’t fix shape or deep stains |
| Full refinish | Floor is stable but needs a full, uniform reset across the field | Engineered wear layer limits; pointless if movement/subfloor issues continue |
When You Need a Pro (And What to Expect)
Some situations are hard to judge from the surface, and that’s where professional assessment saves you from chasing the wrong fix. Bring a pro in when you suspect hidden moisture, when the same area keeps changing after you thought it “dried,” or when odor suggests damp materials are still in play. Mold suspicion belongs here too – not because every stain is mold, but because persistent dampness changes the risk picture.
Widespread cupping or buckling is another trigger, especially if it crosses rooms or follows an exterior wall line. Glue-down systems deserve special attention too. If you start noticing hollow sounds, shifting, or localized debonding after a moisture event, that’s not something to shrug off. It’s often the first sign the adhesive bond took a hit.
A real inspection plan is direct. Pros look for the source first, then check whether moisture is still present in the wood and subfloor, then evaluate the system: installation method, subfloor type, and the feasibility of repair paths. The point isn’t complexity. It’s answering: is this stable, is it getting worse, and what fix will actually last?
Stop the Water, Then Fix the Floor
Water damage decisions get a lot clearer when you keep the sequence straight: stop the source → stabilize the system → choose the repair path. If the floor is flat, stable, and odor-free after the moisture event is addressed, you may be looking at a cosmetic problem with an appearance-based solution. If the floor is moving, lifting, or staying musty, treat it as a system problem first, not a surface problem.
Use simple “if X, do Y” logic. If water came from above and was caught early, stabilizing the system and choosing a finish-focused repair may be enough. If moisture is coming from below or the subfloor stayed wet, solve that condition before you invest in surface work. And no matter what path you choose, don’t seal moisture in – covering it, coating over it, or hiding it under rugs is how small issues turn into repeat failures.